Installation on windows
How to install Obsidian and echinopscis on windows, with screenshots
On this page
-
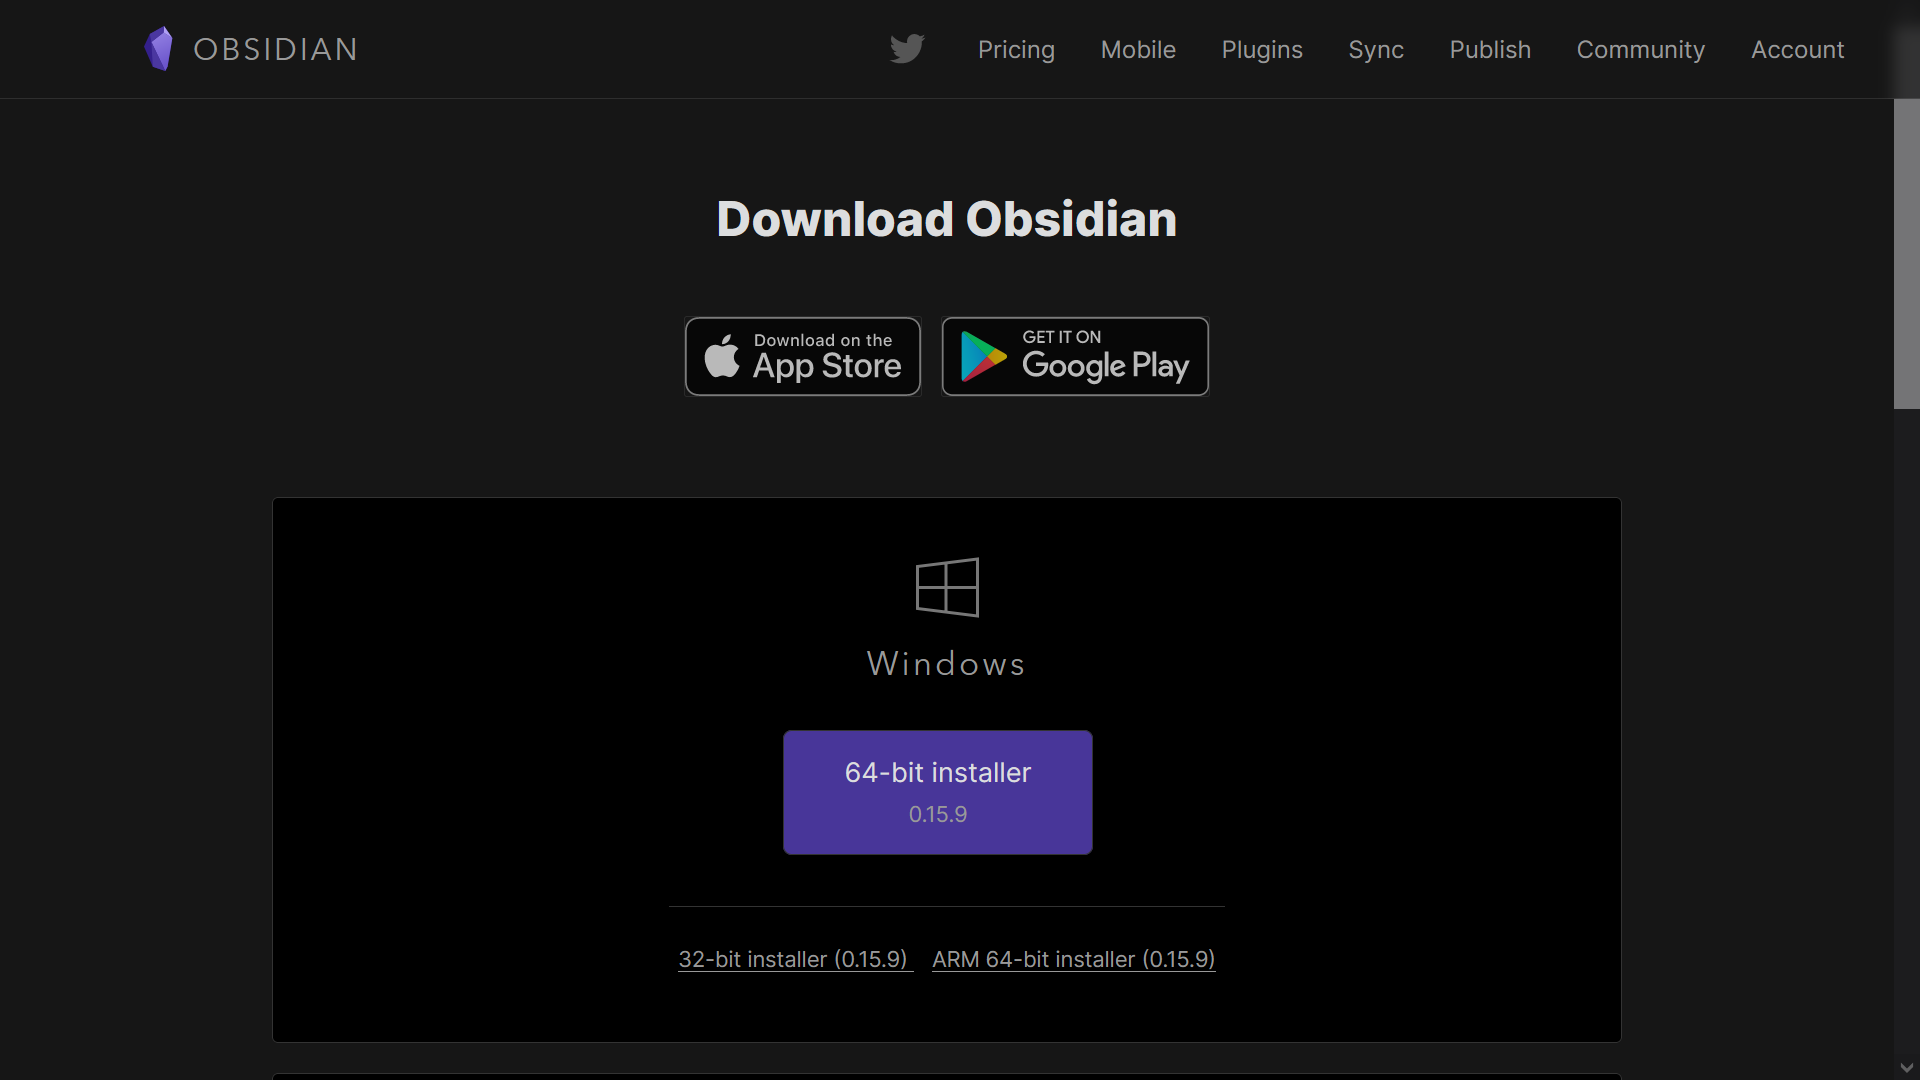
Download and install Obsidian (available for Windows, Mac and Linux distributions).
-
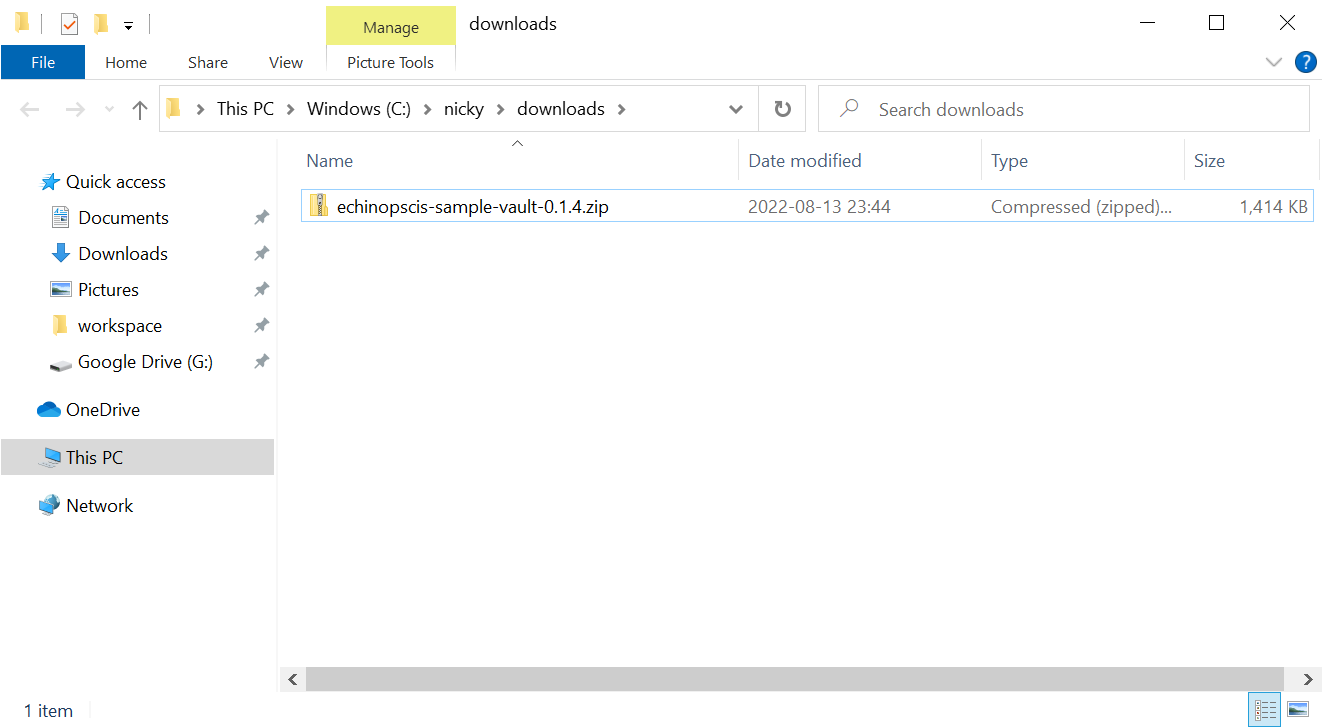
Download the echinopscis sample vault. (“Vault” is the Obsidian term for a workspace or project; the contents of a vault are “pages”, arranged into “folders”). This vault is zipped and pre-configured with plugins for data access and visualisation of biodiversity informatics data.
-
Right click on the downloaded file and select “Extract all…”, accepting all defaults
-
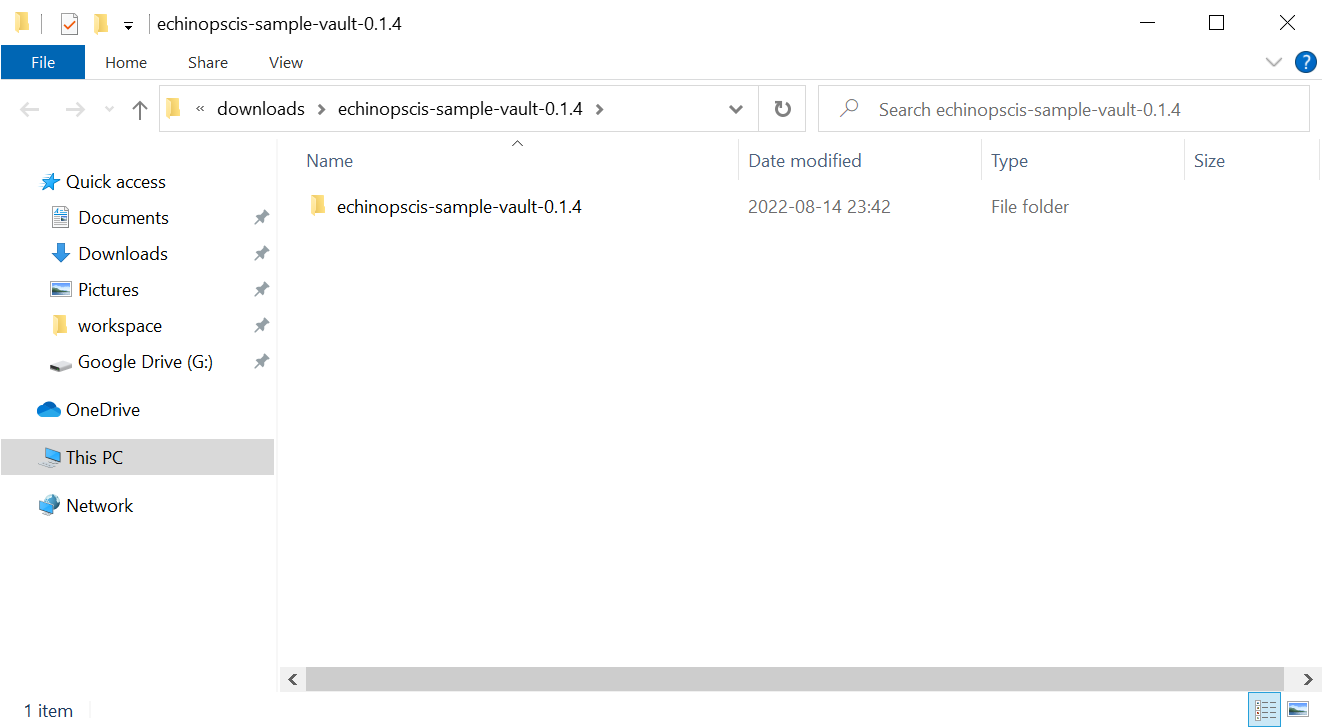
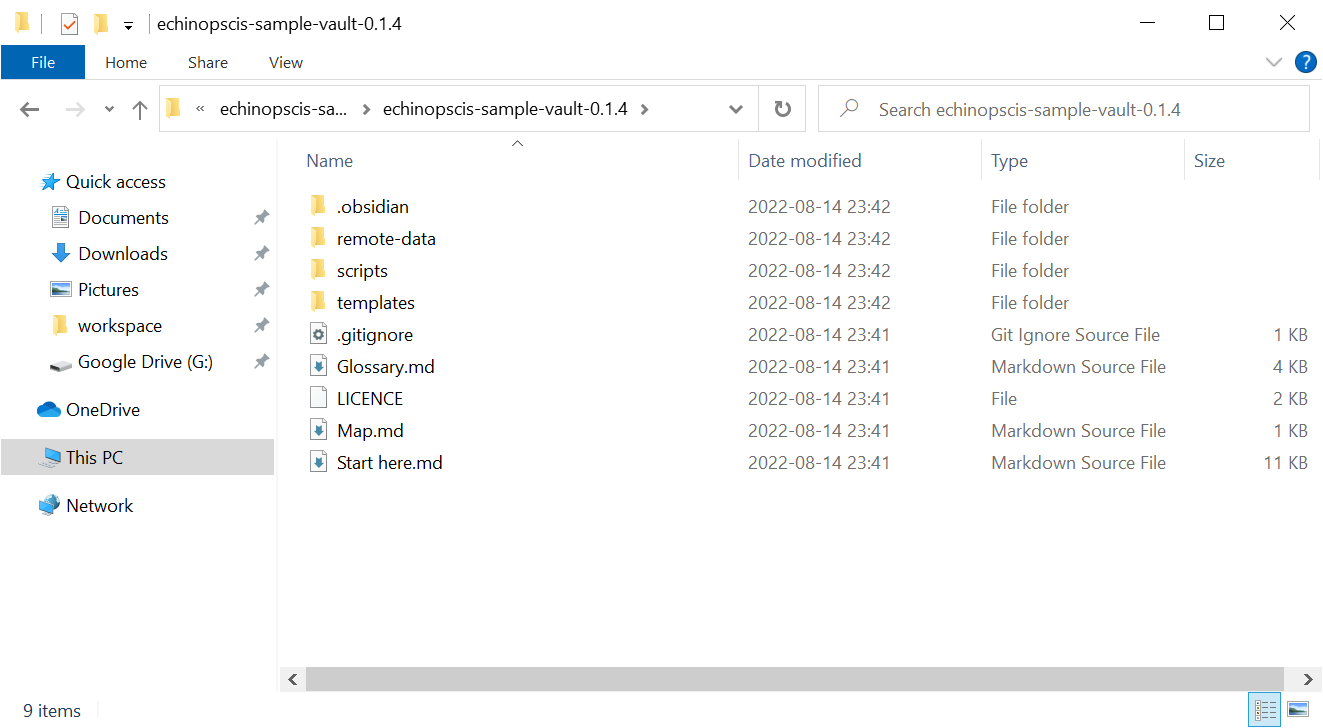
You will be shown the files that were extracted in a new window. Navigate into the single folder contained in the zip. Highlight and save this folder name in the location bar (shown in blue)
-
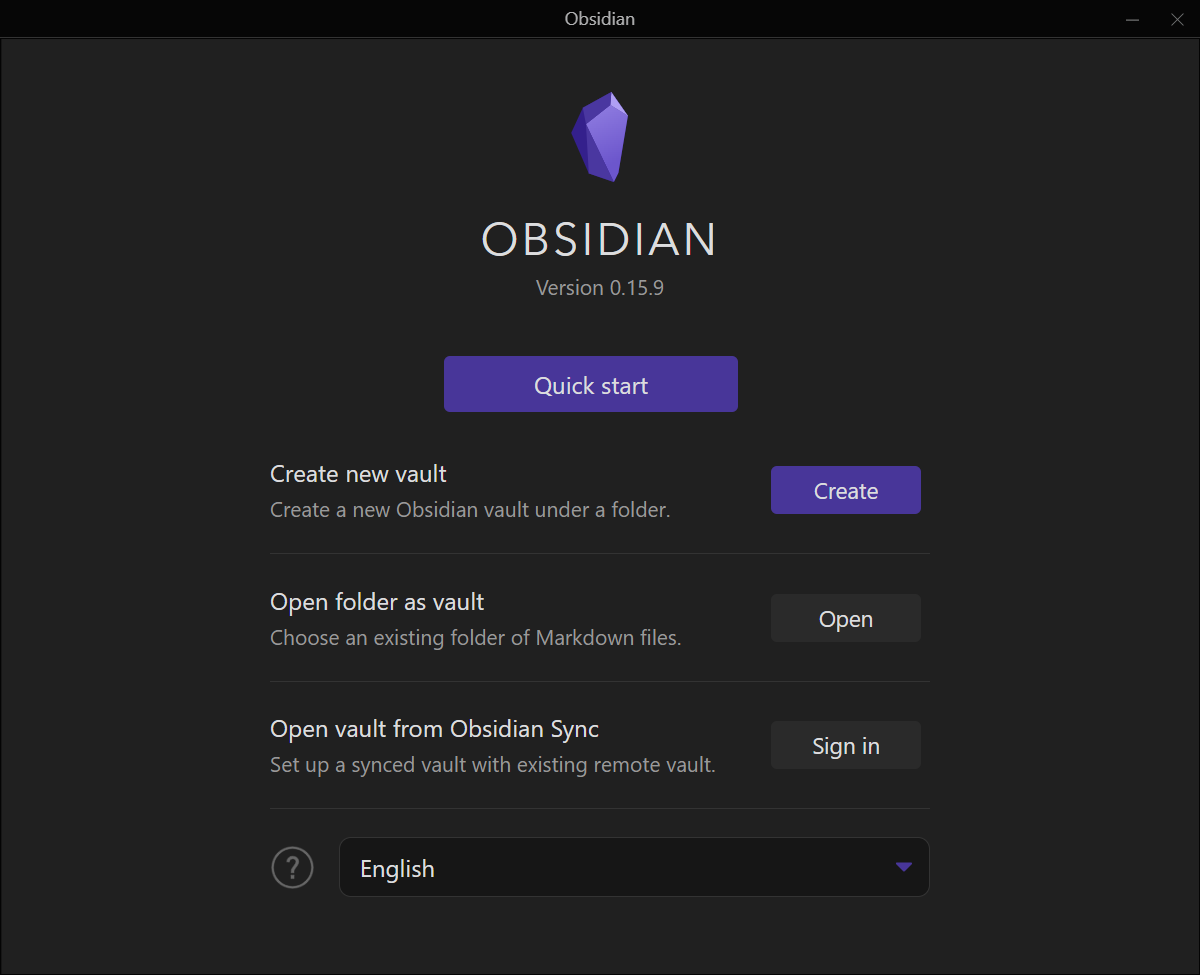
Launch Obsidian. If its the first time you have opened Obsidian, you will be shown a set of three choices (create new / open existing / download remote). You should choose the second of the three options, ie “Open folder as vault”. You’ll be shown a file chooser, where you can navigate to, or paste in the folder saved in the previous step
-
Obsidian will ask if you trust the author of the vault: select “trust author and enable plugins”
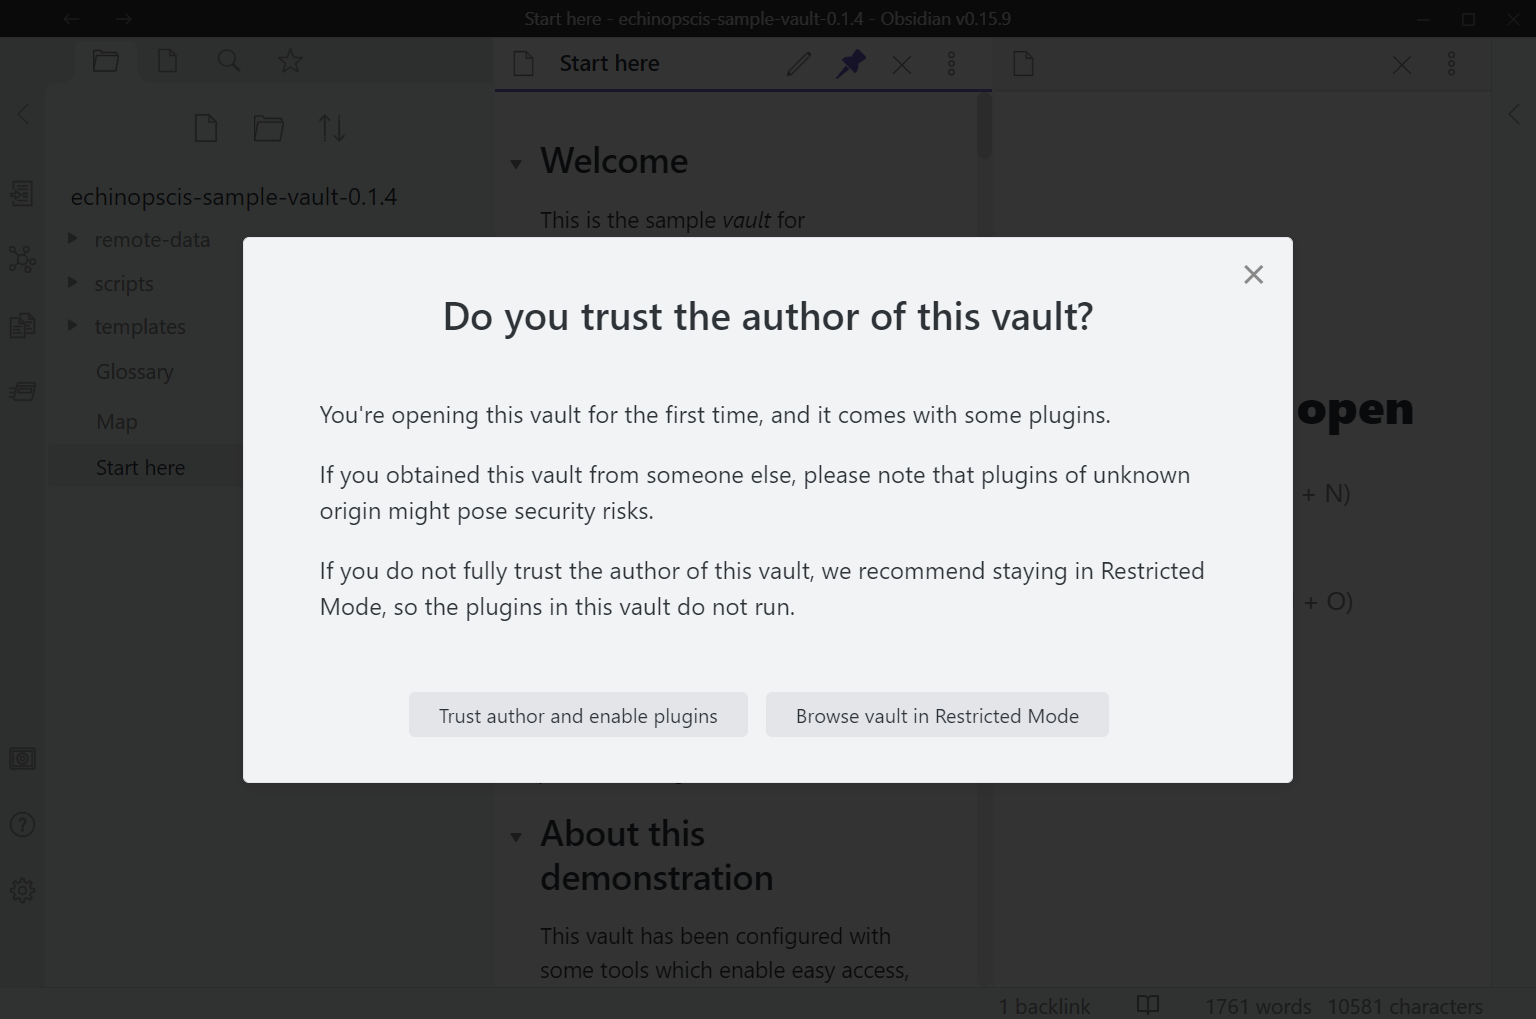 Note if you have an older version of obsidian, this message may be titled “Safe mode” and ask if you wish to disable safe mode and enable third party plugins. Click “Turn off safe mode”.
 -
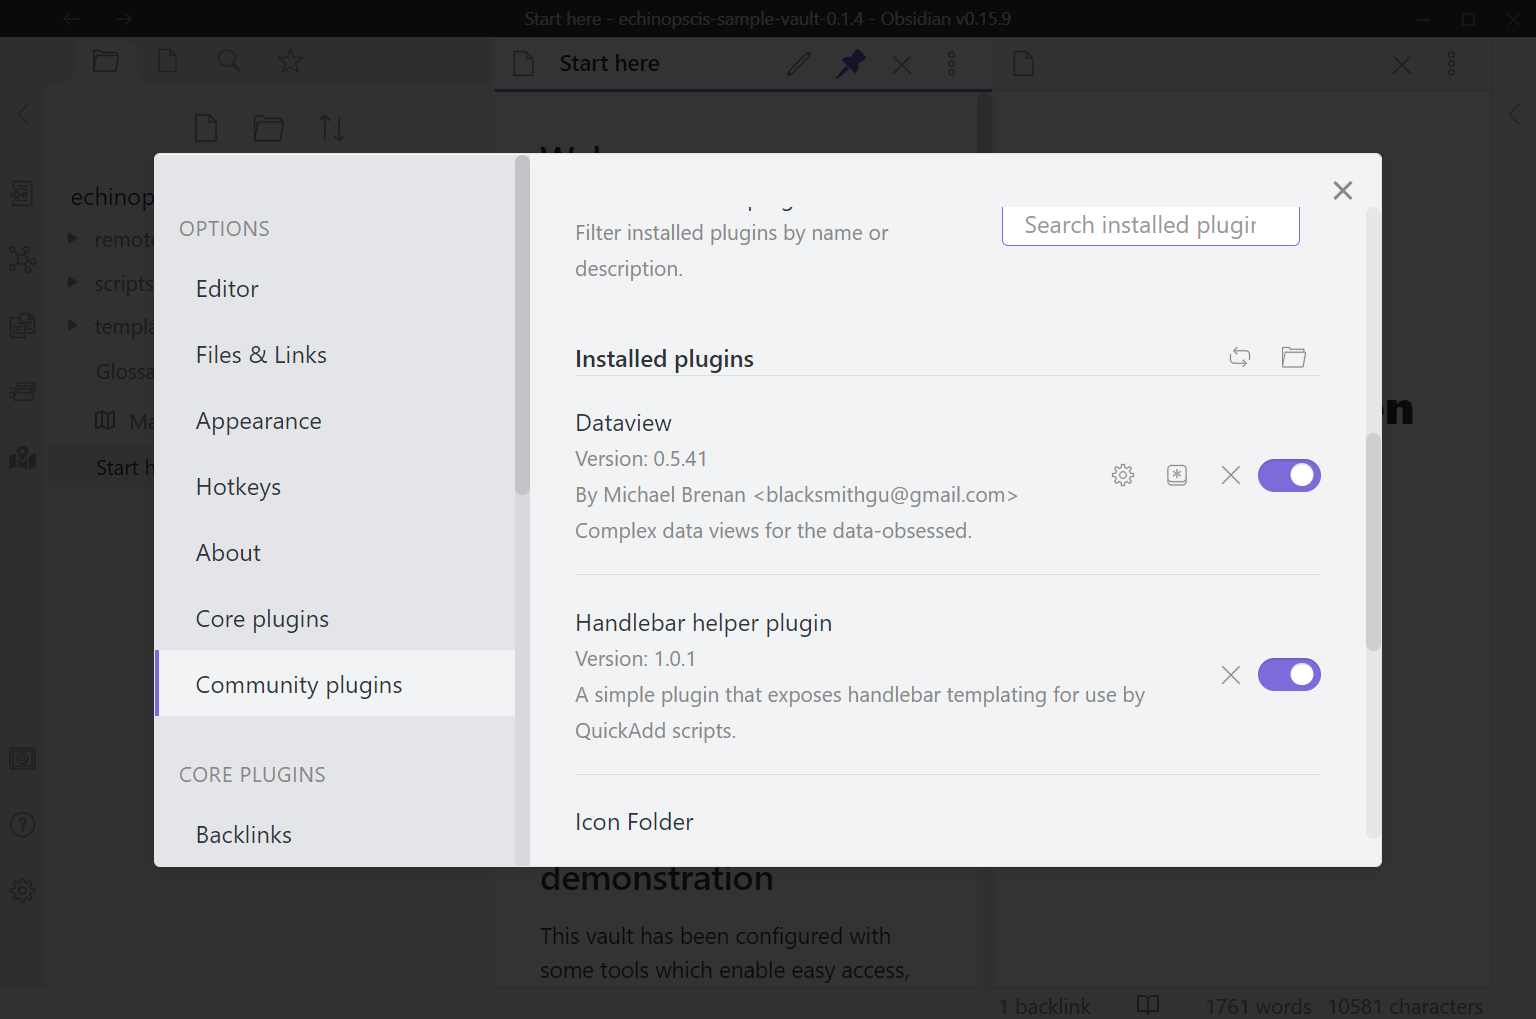
You will be shown a list of plugins contained in the system. You can exit this listing with the Esc key
-
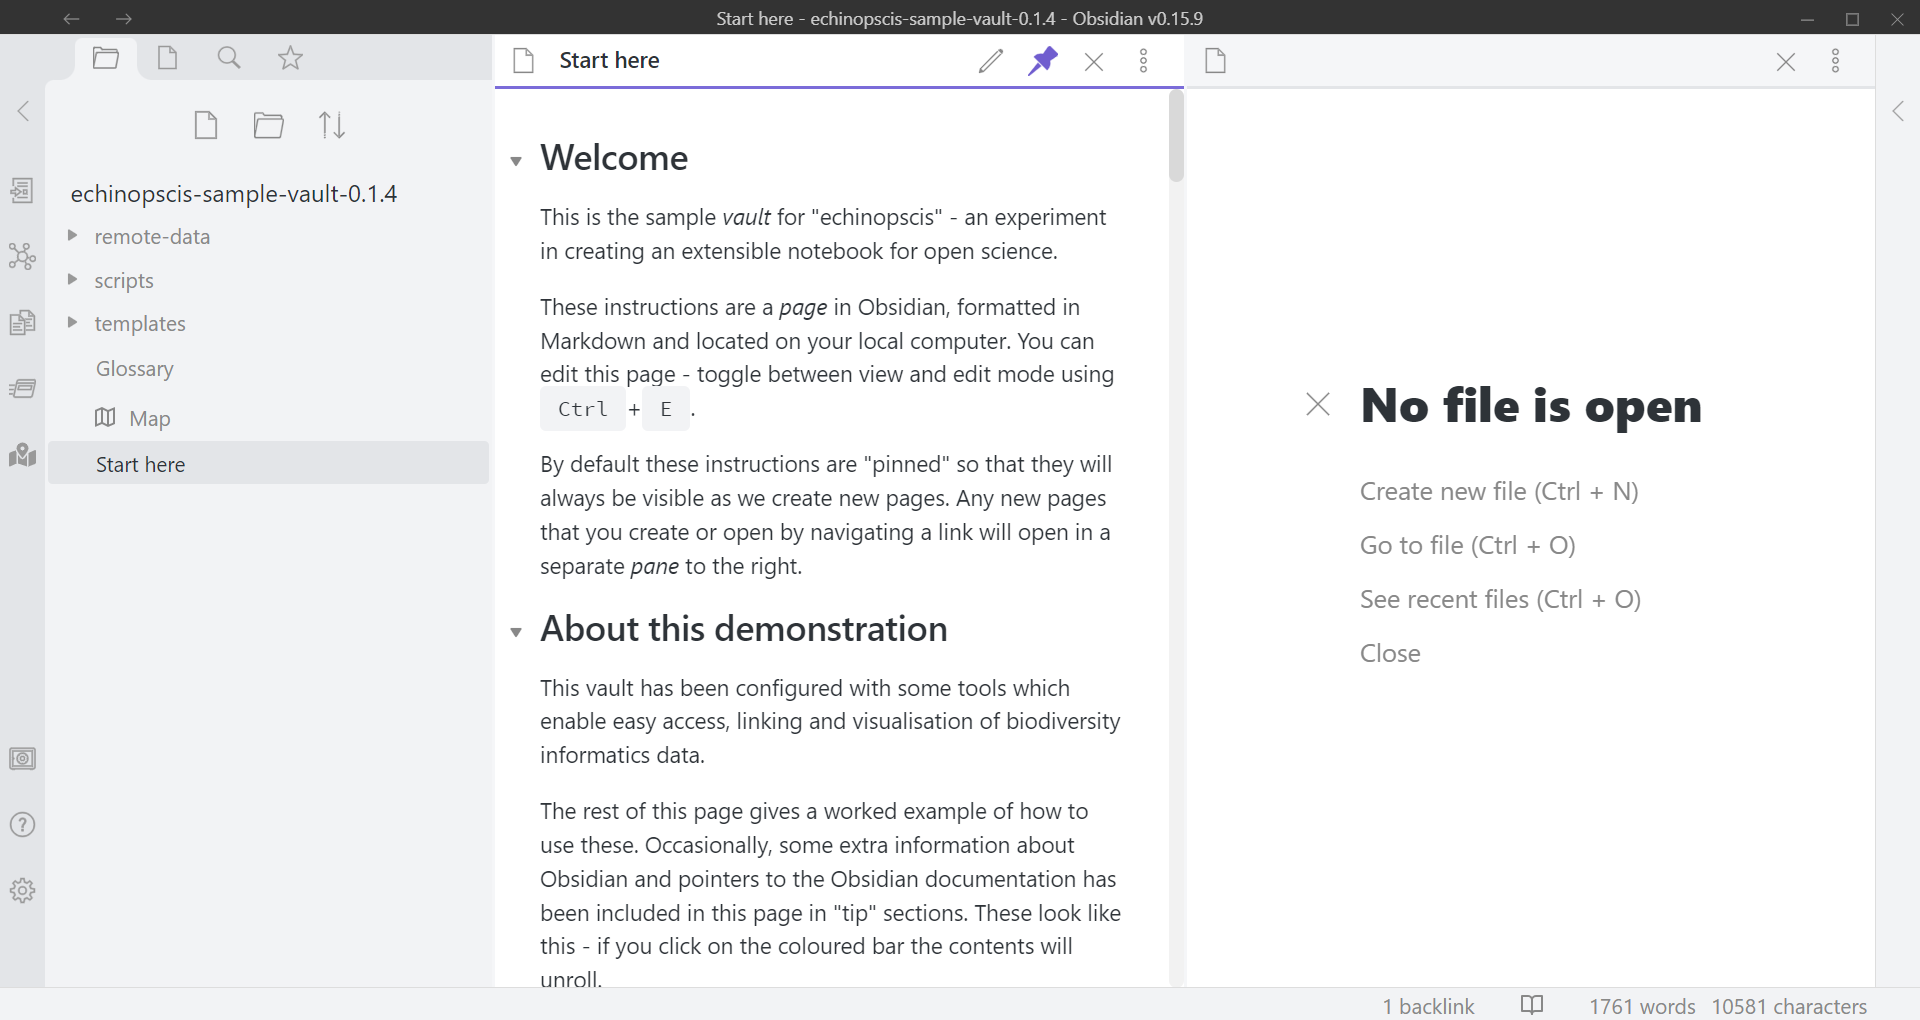
Congratulations! You’ve installed and launched the system. You should now the a “start here” page which contains a set of steps that form a worked example. These instructions are “pinned” so that they remain visible in the lefthand pane, whilst you create and navigate to new pages in the pane on the right.
